Add and Remove Material
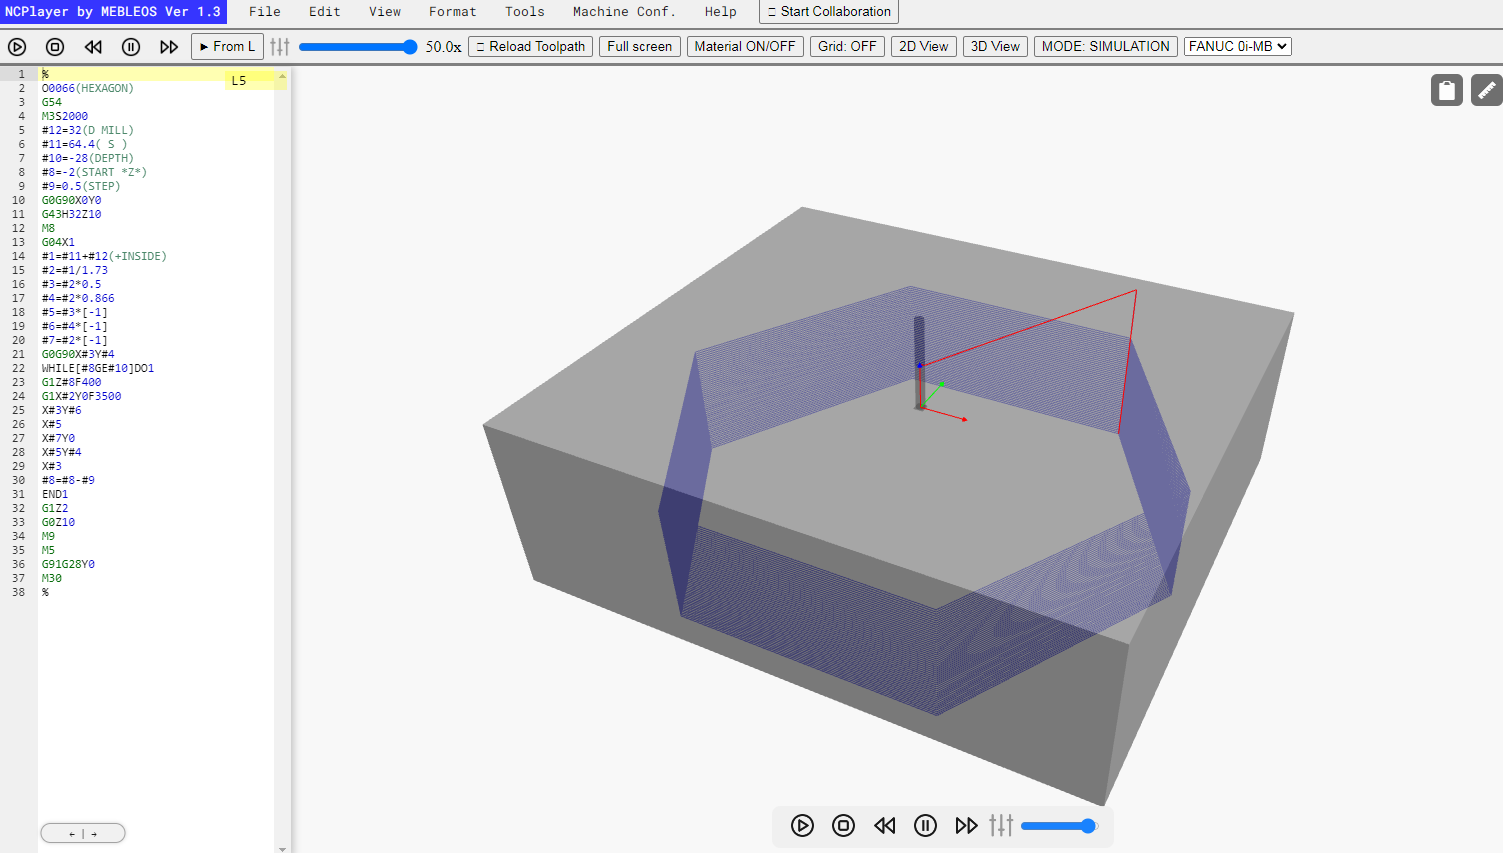
The Add and Remove Material function in NCPlayer allows the user to define the initial stock block for machining simulation. This is especially important for accurate display of the cutting path and for evaluating whether the program matches the real process on a CNC machine.
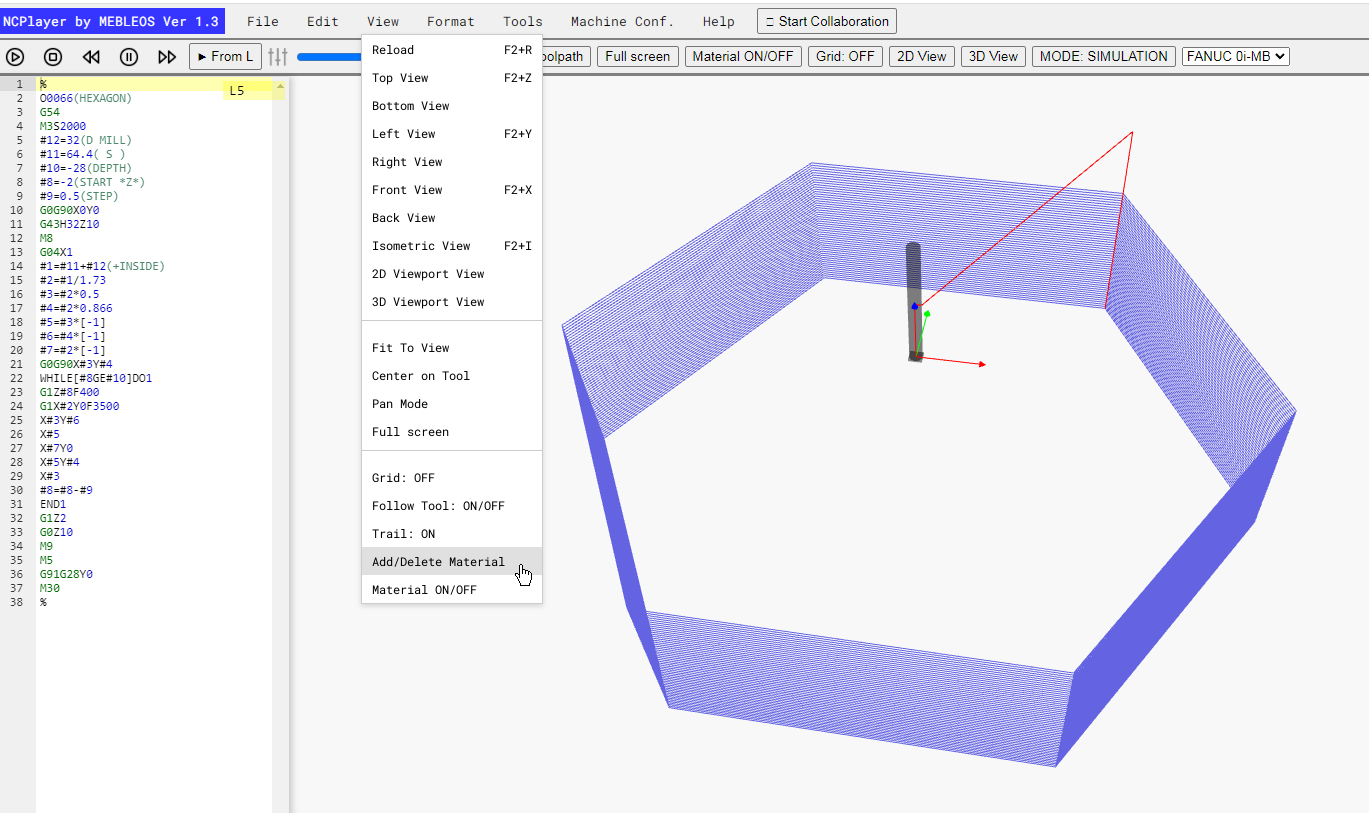
Material Setup Window
When this function is activated, a Select material origin dialog window appears, where you can:
- Select the object to set the origin:
- Part – origin for the part.
- Material – origin for the stock (most commonly used for simulation).
- Set the origin position using the diagram (center, corners, midpoints of edges). In the diagram, the blue area represents the stock, and the white circle indicates the selected origin point.
- Set the gaps (GAP):
- GAP X – gap between the origin and the stock edge along the X axis.
- GAP Y – gap along the Y axis.
- GAP Z – gap along the Z axis (usually a positive value to raise the stock, or a negative value to sink it).
- Units of measurement: switch between mm and inch.

Control Buttons
- Add – add the material with the specified parameters to the simulation scene.
- Cancel – cancel adding the material.
- Delete material – remove the current material from the scene (active if material is already added).
Why This is Important
Correct material setup allows you to:
- Simulate the machining process as close to reality as possible.
- Check whether the toolpath goes beyond the stock boundaries.
- Evaluate the part’s position within the stock and possible machining clearances.
Example Usage
- Open the G-code in NCPlayer.
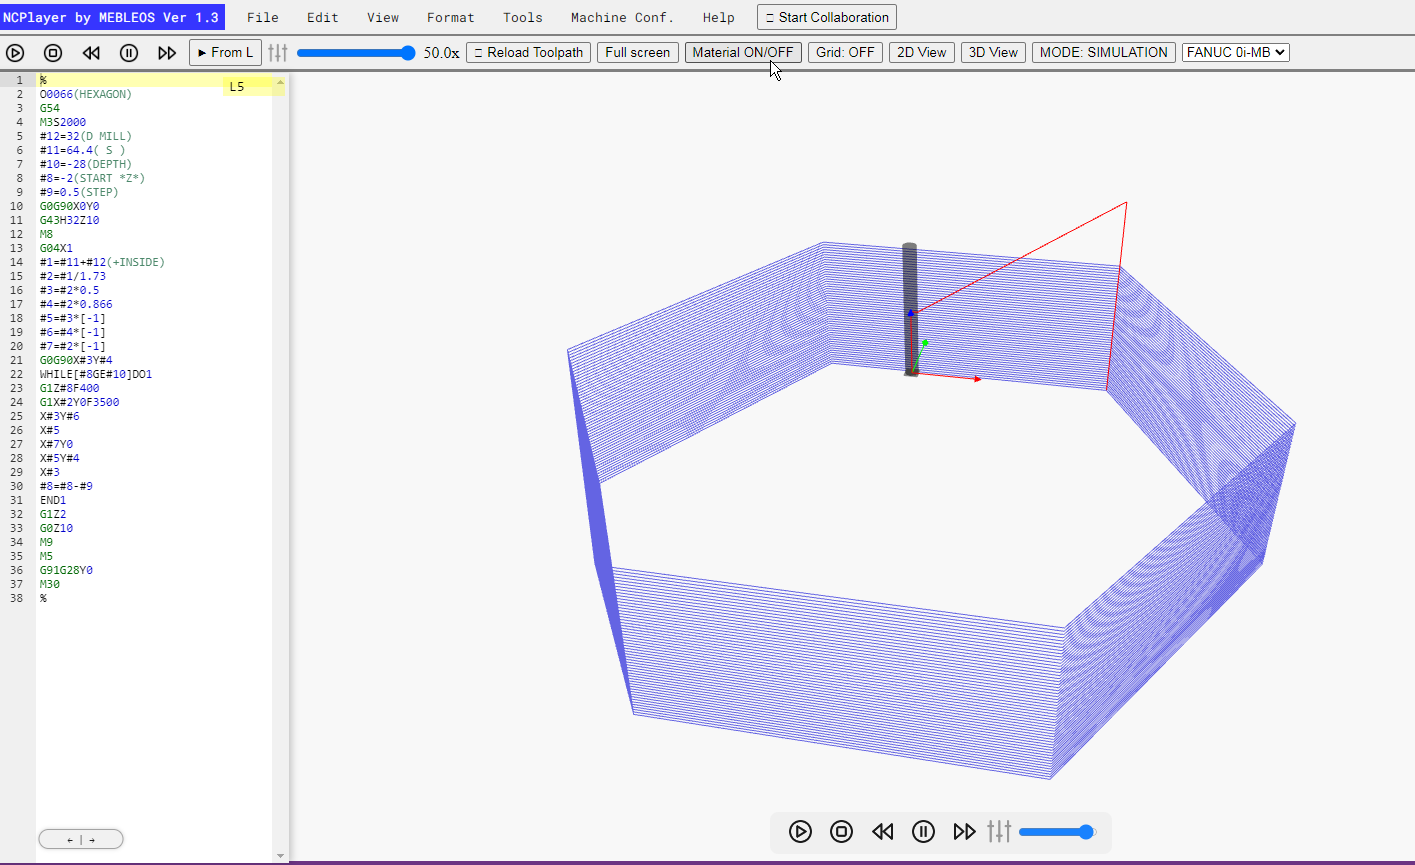
- In the Tools menu, select Material ON/OFF or click the corresponding button on the toolbar.
- In the window that appears, select Material, set the origin position, define the gaps, and choose the units of measurement.
- Click Add to add the stock.
- If necessary, remove the material using Delete material.
NCPlayer by MEBLEOS © 2026